

Wordpress.com
Wordpress.com
How to add Widg.io widgets to your Wordpress.com website
Note: This article relates to Wordpress.com which is the hosted version of Wordpress. If you have a self hosted Wordpress.org website, you need this article.
Good to know...
There are multiple ways to install your Widg.io widgets, depending on which Wordpress.com plan you have.
If you have a Wordpress.com Business plan or higher
If you are on a Wordpress.com Business plan or higher, you are able to install custom code into the Head and Body of your website. This means you can install code once, to make Widg.io widgets appear on every page on your website (and if you need to add a widget to just one page, we'll show you how to do that too).
How to add the Widg.io Element Script to your Wordpress website
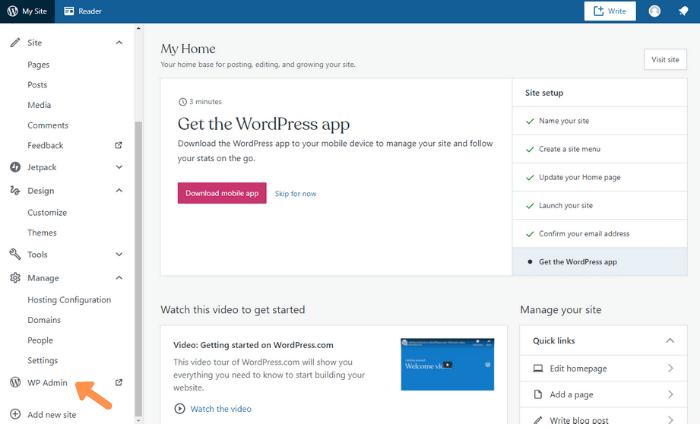
1.
From the side menu, click WP Admin
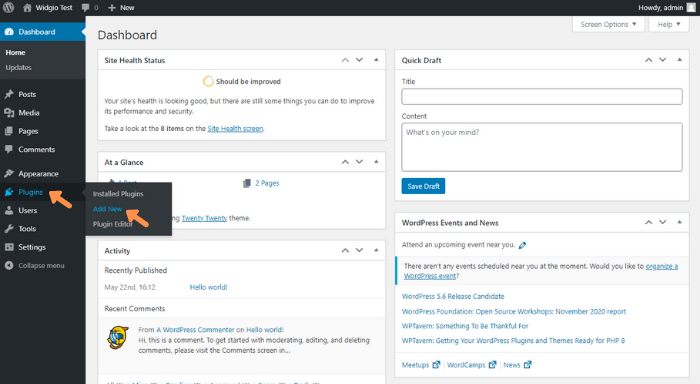
2.
You'll be taken to the Wordpress Admin Editor for your website. From the side menu click Plugins, then Add New
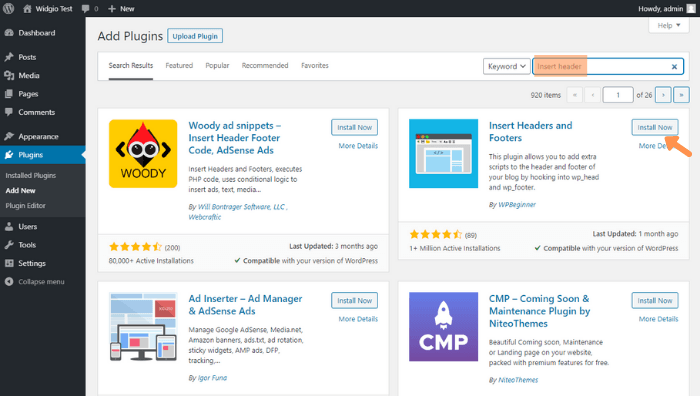
3.
In the Search Box, type in "Insert Header" or similar to discover plugins that allow you to add custom scripts to your header. In this example we're using the Insert Headers and Footers plugin. Click the Install Now button and then click Activate after the plugin has downloaded.
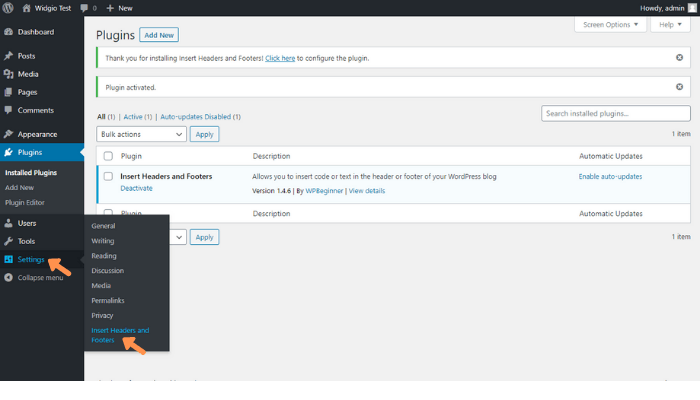
4.
After the plugin has successfully activated, click Settings in the side menu and then Insert Headers and Footers
5.
Copy the Widg.io Element Script and paste it into the Scripts in Header field. Click Save when done.
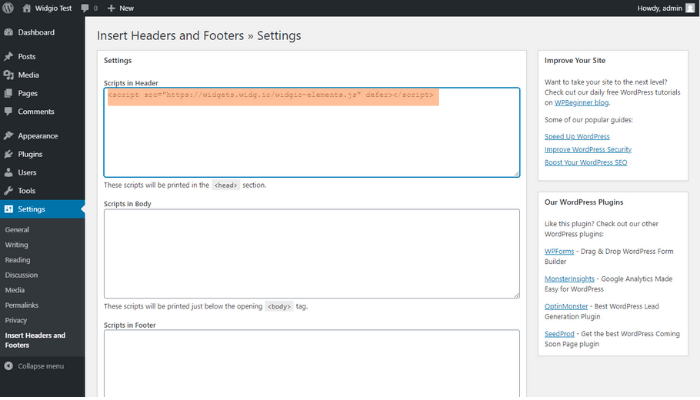
You have now successfully added the Widg.io Element Script into your Wordpress website.
How to add the Installation Code to make your widget appear on all pages
Please ensure you've followed the steps above before proceeding.
1.
Within the Wordpress editor for your website, click Settings in the side menu and then Insert Headers and Footers

2.
Copy the Widg.io Installation Code and paste it into the Scripts in Body field. Click Save when done.
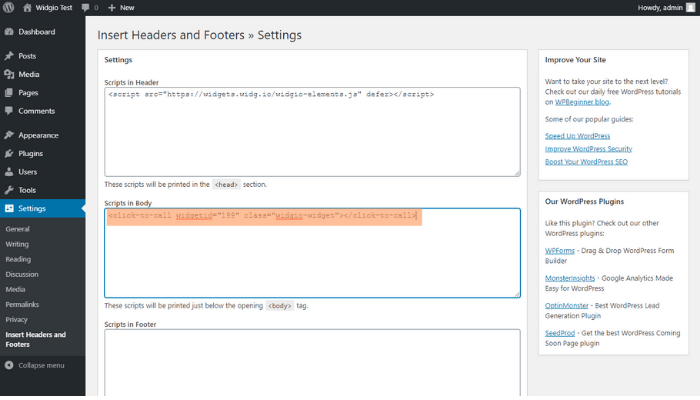
You have now successfully added the Widg.io widget to your Wordpress website.
How to add the Installation Code to make your widget appear on one specific page
1.
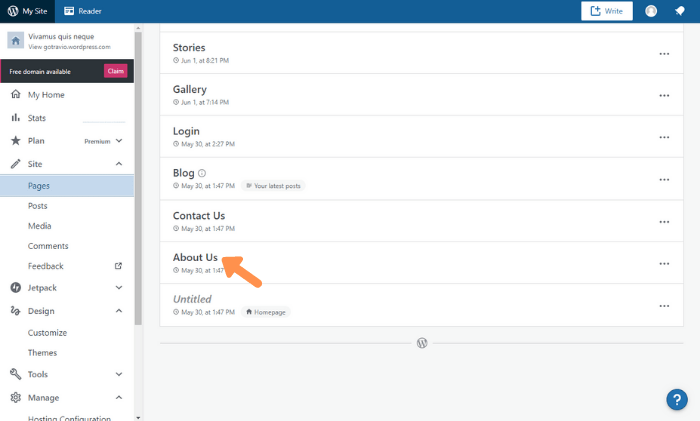
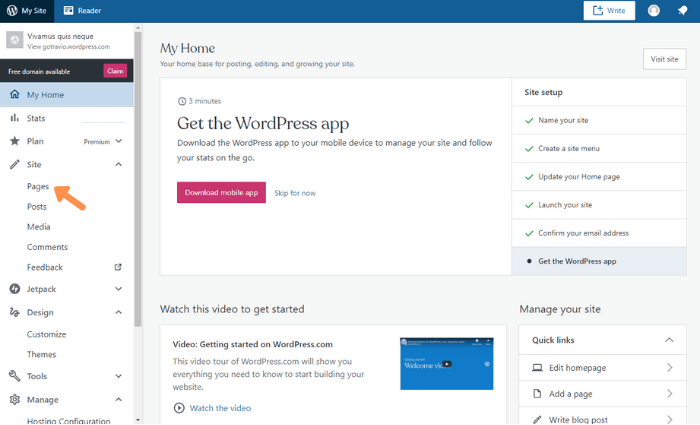
Within your Wordpress.com dashboard, from the side menu, click Pages

2.
Click on the Page you want to add the widget to
3.
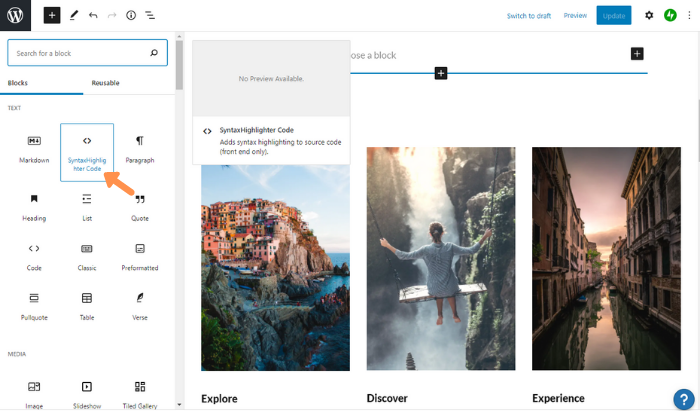
Click the + icon to add a new block o the page
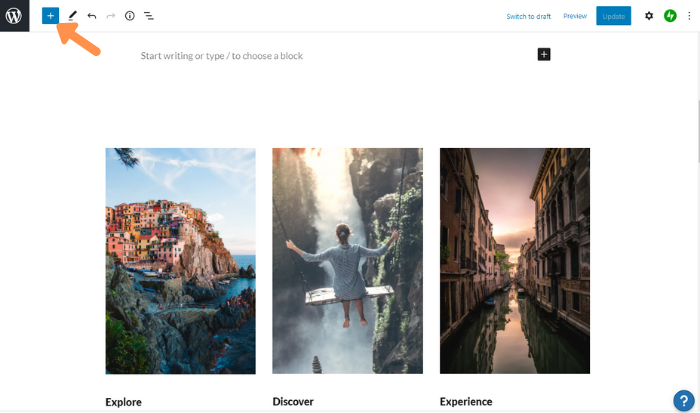
4.
From the list of suggested blocks, click <> SyntaxHighlighter Code
5.
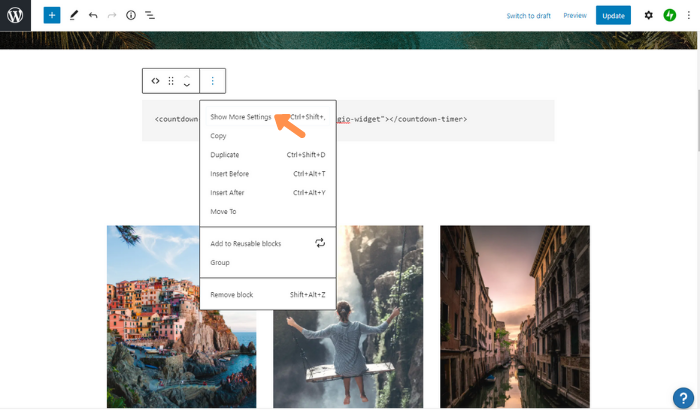
Copy the Widg.io Installation Code and paste it into the field. Then click the 3 dots.

6.
Then click on Show More Settings

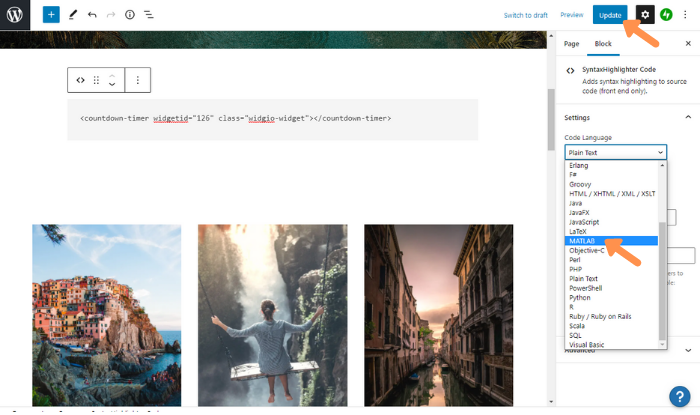
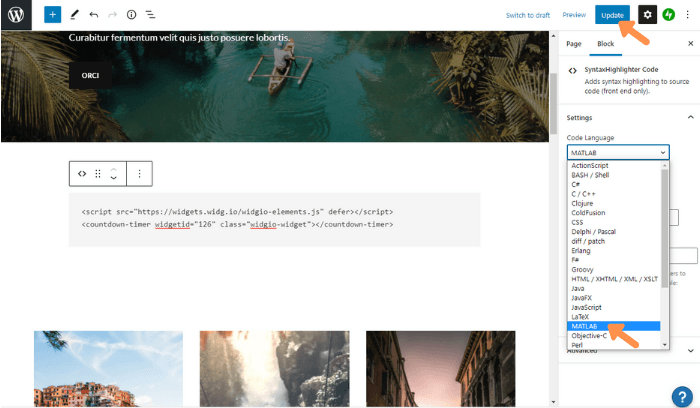
7.
When the additional settings appear, within the Code Language dropdown, click on MATLAB. Click the Update button when done.
The Installation Code has now been successfully added to this page.
If you have a Wordpress.com Premium plan or lower
If you are on a Wordpress.com Premium plan or lower, you are not able to install custom code into the Head and Body. This means you have to add your Widg.io code to each page individually.
1.
Within your Wordpress.com dashboard, from the side menu, click Pages
2.
Click on the Page you want to add the widget to

3.
Click the + icon to add a new block to the page

4.
From the list of suggested blocks, click <> SyntaxHighlighter Code

5.
Copy the Widg.io Element Script and Installation Code and paste it into the field. Then click the 3 dots.
6.
Then click on Show More Settings
7.
When the additional settings appear, within the Code Language dropdown, click on MATLAB. Click the Update button when done.
The Element Script & Installation Code has now been successfully added to this page.